Your first wedding anniversary is different from any other. It marks 365 days of waking up next to the same person, navigating the messy parts and the beautiful ones, learning what makes them laugh even when they are tired. That deserves more than a generic balloon arch from a party store.
The beauty of celebrating at home is that you can create something that actually speaks to your relationship. And because the first anniversary traditionally uses paper as its symbol, you already have a creative direction that is inexpensive, personal, and surprisingly elegant if you know what to do with it.
I have decorated my own home for anniversaries and helped friends plan theirs. These are the ideas that actually work without making your living room look like a wedding hall exploded.
Why the Paper Theme Works So Well for Home Decorations
The tradition of giving paper gifts for the first anniversary started because paper represents a blank page. A fresh start. The first year of marriage is exactly that — a new story you are writing together, page by page.
Paper decorations fit naturally into a home setting for three reasons:
- They are lightweight and easy to hang without damaging walls
- They are cheap enough that you can make a lot without feeling guilty
- They can be personalised with your own handwriting, photos, or inside jokes
Most people skip the paper theme because they think it means buying expensive craft supplies. That is not true. The best paper decorations come from things you already have — old books, printer paper, cardboard boxes, newspaper clippings from your wedding day, the map of your first trip together.
Seven Decoration Ideas That Actually Look Good
Here are the setups I have seen work in real homes. Some are elaborate. Some take fifteen minutes. Pick one or combine two that fit your space and energy level.
A Paper Flower Wall That Does Not Look Cheap
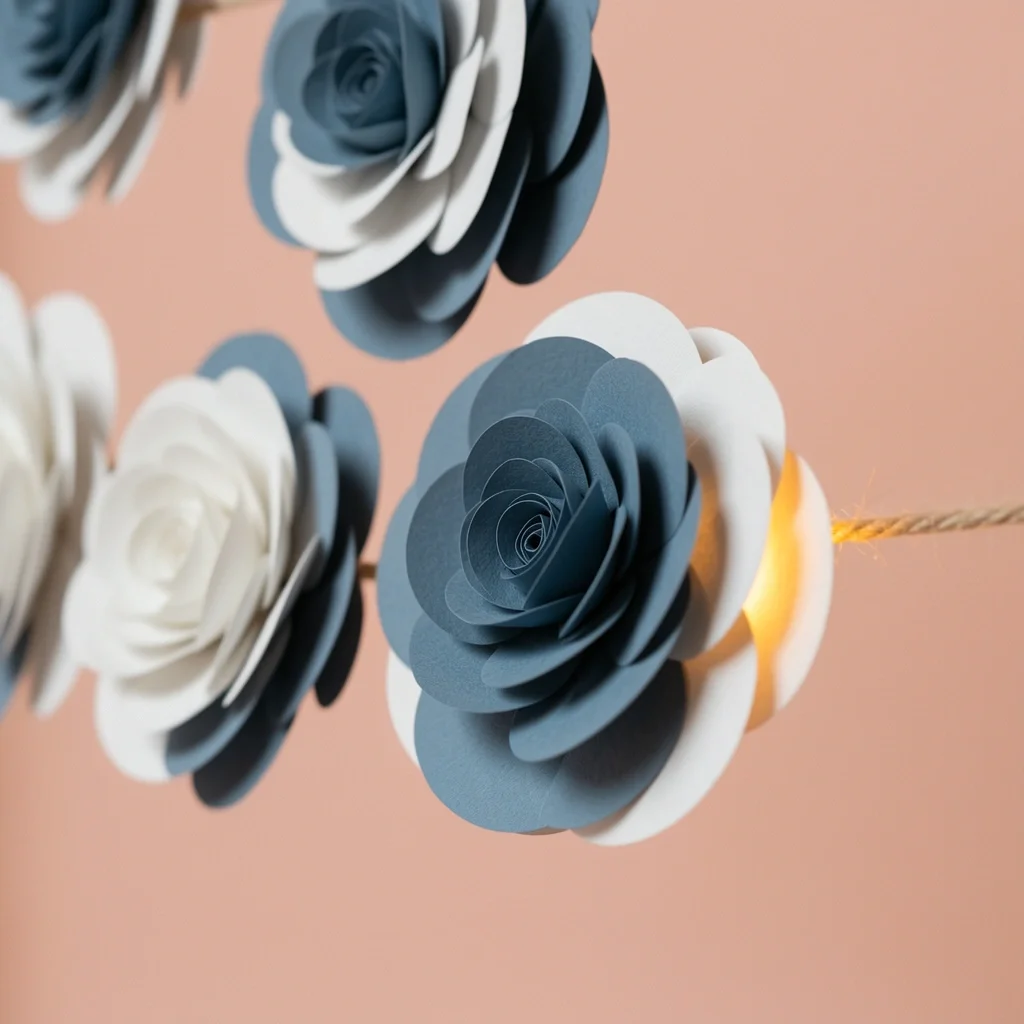
Paper flowers get a bad reputation because people think of elementary school art projects. But when you use the right paper and arrange them properly, they look like something from a styled photoshoot.
What you need: Coloured cardstock or scrapbook paper, scissors, hot glue gun, string or fishing line, fairy lights.
How to do it: Cut petal shapes from the paper. Stack five to six petals together and pinch the base to form a flower shape. Glue the base. Make about twenty to thirty flowers in different sizes. String them on fishing line at varying heights and hang them against a blank wall. Weave fairy lights through them. The combination of paper texture and soft light looks incredible at night.
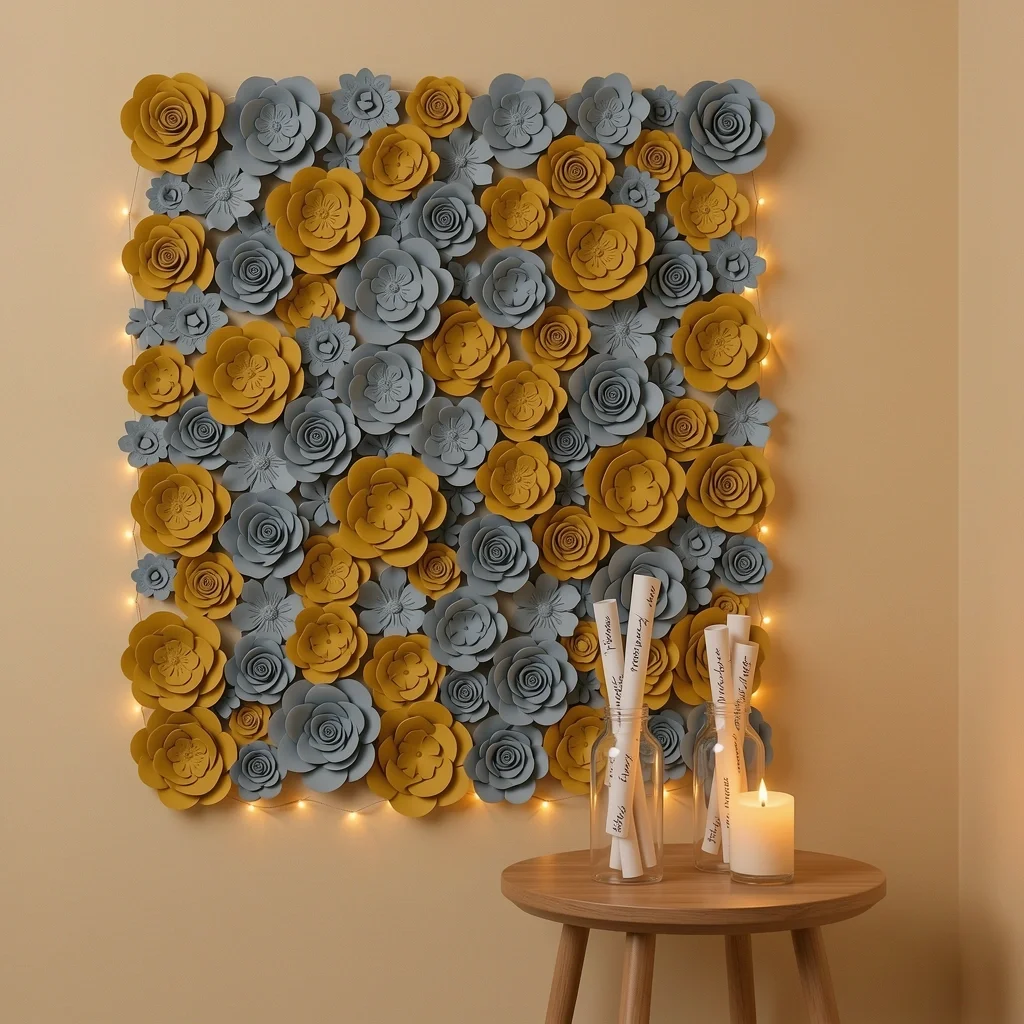
Use colours that mean something to your relationship. If your wedding had dusty blue and white, use those. If her favourite colour is mustard yellow, go with that. The personal touch makes the flowers feel intentional, not generic.
Time required: Two to three hours for a decent-sized wall. Budget: Under ₹500 if you already have a glue gun.
Love Timeline Banner Made from Photo Paper
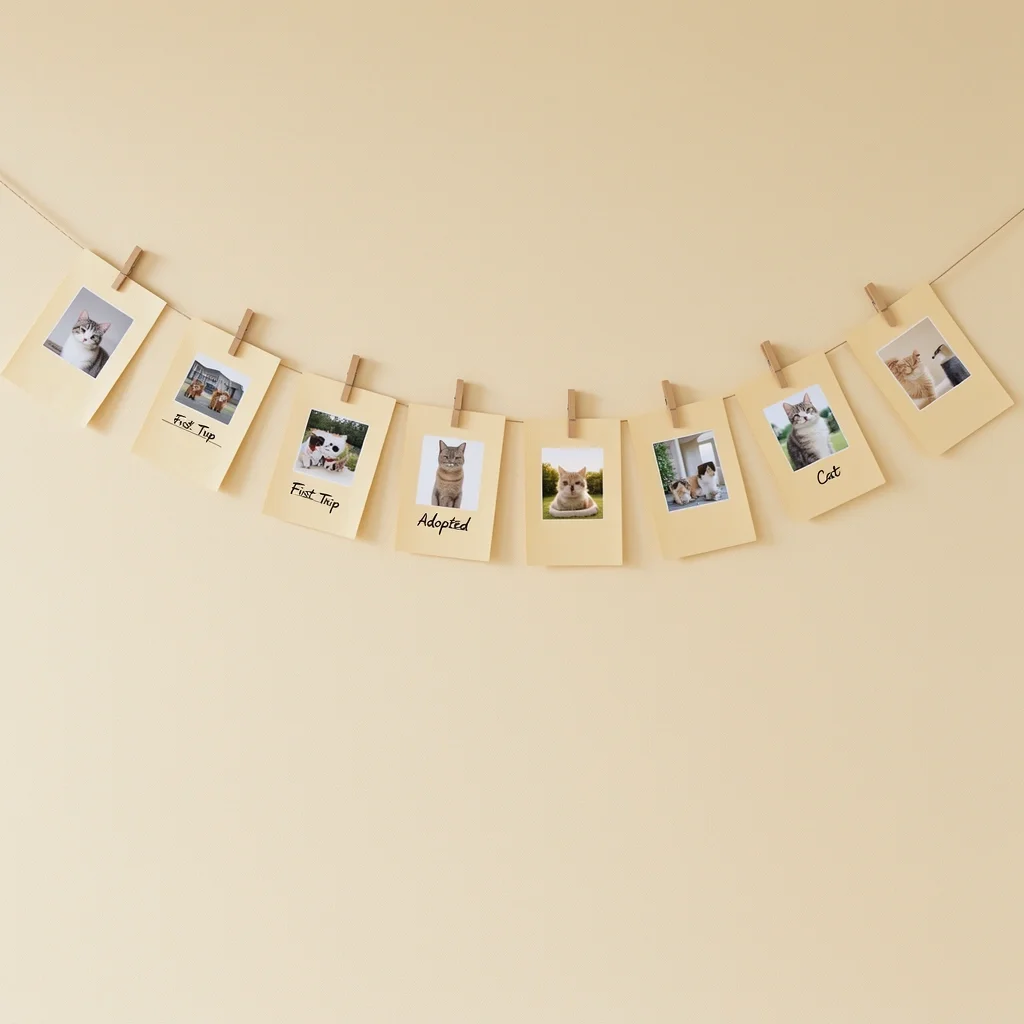
This is the most personal idea on this list and takes almost no skill to execute.
What you need: Printed photos from your first year together, plain white or kraft paper strips, string, clothespins or tape, marker pen.
How to do it: Cut paper into rectangles about the size of a photo. On each piece of paper, write one milestone from your first year — the first fight, the first vacation, the day you adopted your cat, the time you cooked together and it was terrible. Attach the corresponding photo to each paper using a clothespin or double-sided tape. String them across a wall or along your headboard.
This works because it tells a story. Your partner walks in and relives the whole year just by looking at the wall. You do not need expensive frames or professional prints. Regular printer paper and basic photos work fine.
Time required: One hour. Budget: Under ₹200 if you have a printer.
Origami Mobile Hung from the Ceiling
Origami cranes are the classic choice, but you can also fold hearts, stars, or simple geometric shapes. The key is repetition — a single origami piece looks lonely, but forty of them hanging at different levels create a beautiful sculptural effect.
What you need: Square sheets of paper in one or two colours, fishing line or thin thread, a circular embroidery hoop or stick to hang everything from, tape or glue.
How to do it: Fold your shapes. There are thousands of free tutorials online for simple origami hearts. Tie each piece to a different length of thread. Attach all threads to the hoop or stick. Hang the whole thing from a ceiling hook or curtain rod.
Position the mobile above your bed or over a small table where you plan to have dinner. It adds movement and a handmade quality that store-bought decorations cannot replicate.
Time required: Three to four hours if you are learning as you go. Budget: Under ₹300 for paper packs from a stationery shop.
Paper Lanterns with a Warm Glow
Paper lanterns are available at any party store for very little money. But instead of hanging them randomly, create a focal point by clustering them in one corner or above a dining table.
What you need: Five to ten paper lanterns in different sizes, LED tea lights or string lights, fishing line.
How to do it: Insert an LED tea light into each lantern using the opening at the bottom. Hang them at staggered heights. Turn off all other lights. The warm glow from inside the paper creates a soft, romantic atmosphere that fake candles cannot match.
Use white or cream lanterns for a clean look, or mix gold and blush tones for something warmer. Do not use real candles near paper — it is a fire risk and not worth the aesthetic.
Time required: Thirty minutes. Budget: ₹200 to ₹500 depending on how many you buy.
Message in a Bottle Table Centerpiece
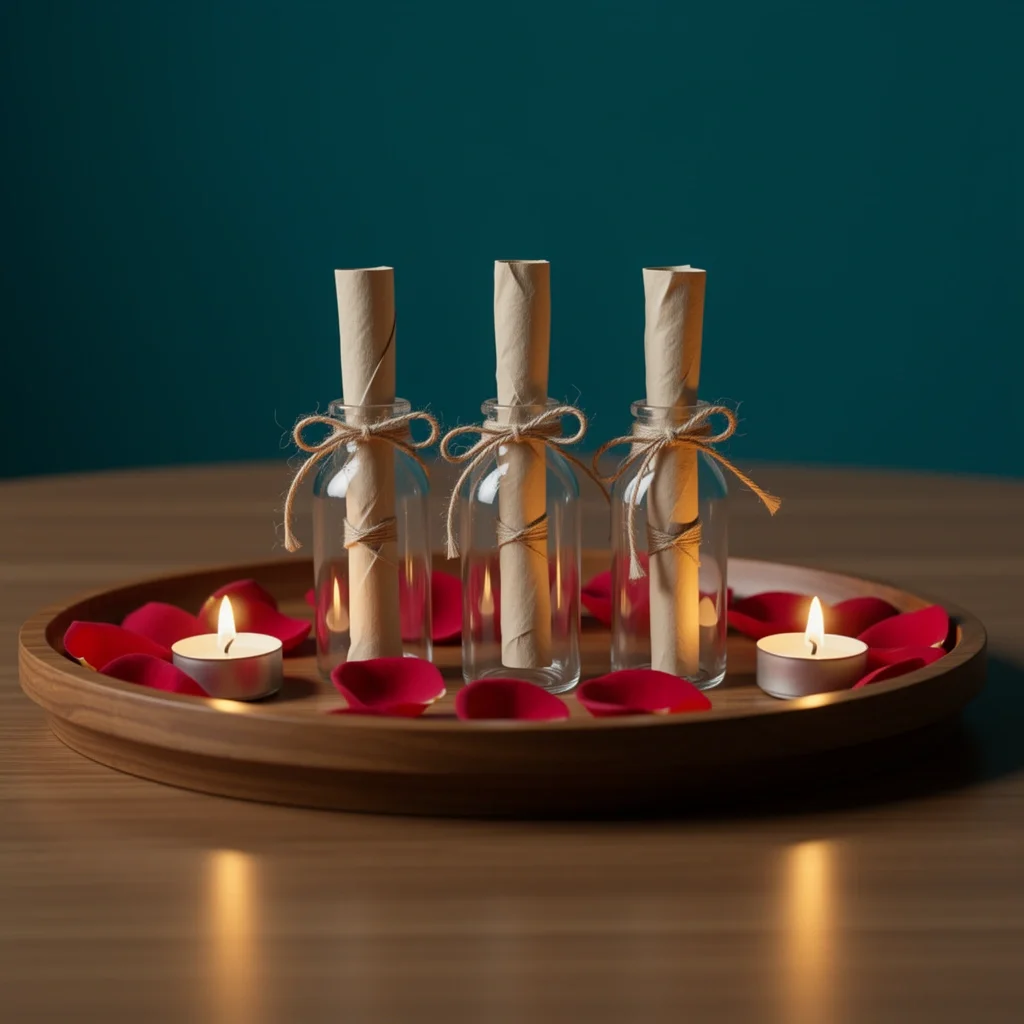
This idea turns your dining table into the focal point of the evening.
What you need: Small glass bottles or jars, rolled paper notes, string, rose petals or fairy lights, a tray or wooden board.
How to do it: Write short notes on slips of paper — things you love about your partner, memories from the first year, hopes for the next one. Roll each note tightly and tie it with a piece of string. Place one note in each bottle. Arrange the bottles on a tray surrounded by rose petals and small LED candles.
During dinner or after dessert, ask your partner to pull out a few notes and read them out loud. It turns a simple decoration into an interactive experience. It also gives you a way to say things you might not say easily otherwise.
Time required: Forty-five minutes. Budget: Under ₹200 using recycled jars.
Minimalist Paper Cutout Backdrop for Photos
If you want something clean and modern that looks great in photographs, a paper cutout backdrop is your best option.
What you need: Large sheet of cardboard or foam board, craft knife, pencil, washi tape or removable adhesive.
How to do it: Draw a large shape on the board — a heart, the number 1, your initials intertwined, or the date of your wedding. Cut it out carefully using the craft knife. Tape the cutout to a blank wall. Stand in front of it for photos, or place a small table with your cake or a candle arrangement in front of it.
The cutout becomes a frame that draws attention to whatever is in front of it. Keep the background plain so the cutout stands out. This works especially well in small apartments where you cannot install a full backdrop.
Time required: One hour for a simple shape. Budget: Under ₹100 if you have a craft knife.
Surprise Paper Trail Leading to the Main Setup
This is less of a decoration and more of a reveal technique. It transforms the walk from the front door to the decorated room into part of the experience.
What you need: Coloured paper or cardstock, marker pen, tape, small envelopes or folded paper.
How to do it: Cut paper into arrow shapes. Write one line on each arrow — a memory, a reason you love them, a clue about what is coming. Tape the arrows along the floor or wall leading from the entrance to the bedroom or living room. At the end, place a larger note that says something like, “Turn around” or “Look up” to draw their attention to the main setup.
This works because it builds anticipation. Your partner knows something is happening but does not know exactly what until they reach the end. It costs almost nothing and adds a layer of thoughtfulness that a single decorated room cannot match.
Time required: Thirty minutes. Budget: Under ₹50 using printer paper.
How to Choose the Right Setup for Your Space and Partner
Not every idea works for every home or every relationship. Here is how to narrow your options.
If you have a small bedroom: Skip the backdrop and wall installations. Focus on the origami mobile hanging from the ceiling and the message bottles on a bedside table. Use vertical space rather than floor space.
If your partner is private and does not like over-the-top gestures: Go with the love timeline banner and the paper lanterns. Keep it understated. Let the personal details do the work.
If you want a big reveal moment: Use the paper trail leading to a paper flower wall or paper cutout backdrop. The surprise element multiplies the impact of the decoration.
If you are on a very tight budget: Pick the love timeline banner and the message bottles. Both cost under ₹300 combined and take less than two hours to set up.
Step-by-Step Setup Plan for the Day Of
Here is a realistic timeline that does not leave you rushing at the last minute.
Morning: Buy your supplies. Fold origami or cut paper flowers if you are making them yourself. Write the notes for the message bottles and the love timeline banner.
Afternoon (2 PM to 4 PM): Set up the structure. Hang the paper flowers or mobile. Arrange the lanterns. Attach the banner to the wall. Position the cutout backdrop if you are using one.
Late afternoon (4 PM to 5:30 PM): Add the lighting. Weave fairy lights through the paper flowers. Turn on the lanterns. Place the LED candles around the room. Do not use real candles unless you are absolutely sure they are away from paper.
Evening (just before your partner arrives): Lay the paper trail if you are using one. Place the message bottles on the table. Double-check that everything is visible and no wires or tape are showing.
Common mistakes to avoid: Do not hang anything too high if your partner is short. Do not use strong adhesive on painted walls unless you are sure it will not peel the paint. Do not leave real flames unattended near paper decorations.
DIY vs Hiring a Service for Your Anniversary Decoration
Some people prefer to handle everything themselves. Others want a professional result without the effort. Both are valid. The choice depends on your situation.
| Factor | DIY | Professional Service |
|---|---|---|
| Cost | Under ₹500 to ₹1,500 depending on idea | ₹2,000 to ₹10,000 depending on package |
| Personalisation | Complete control. You can make it exactly about your relationship. | Limited to available themes and materials. |
| Time investment | Two to five hours of hands-on work | Zero to minimal effort. You just coordinate arrival. |
| Result quality | Depends on your skill and patience | Professional but can feel generic |
| Surprise factor | Harder to keep secret if you need supplies delivered | Easier because someone else handles setup |
| Flexibility | You can adjust or change ideas as you go | Fixed package. Changes may cost extra. |
If you have no interest in crafts and just want a nice-looking room, hiring a service like Giftlaya makes sense. But if you want the decoration to feel genuinely personal and romantic, doing it yourself with paper-based ideas gives you a result that no service can replicate.
The paper theme is your advantage because it is so cheap that you can afford to make mistakes and still come out ahead. If you mess up a paper flower, you recycle the paper and try again. That flexibility disappears when you pay someone else.
When DIY Is the Better Choice
- You have at least three hours of free time the day before or morning of
- You want the decoration to include specific memories or inside jokes
- Your budget is under ₹1,500
- You enjoy the process of making things
When Hiring a Service Makes Sense
- You have no time at all
- You want a large-scale setup that requires professional materials like balloon arches
- You are decorating a hotel room and cannot access it without coordination
- Your partner will be home the entire day and you cannot hide supplies
How to Make the Decoration Feel Personal Without Spending Extra
The difference between a nice decoration and one that makes your partner emotional is not the budget. It is the thought behind it.
Use your partner’s favourite colour as the primary colour for your paper decorations. Include a playlist of songs from your first year playing softly in the background. Write notes by hand instead of printing them. Use paper that has meaning — the map of the city where you first met, the newspaper from your wedding day, the pages of a book they love.
One couple I know used the pages from an old atlas to make their paper flowers because they met while travelling. Another used sheet music from the song that played during their first dance. Neither cost anything extra. Both made the decoration unforgettable.
If you do not have any special paper, use plain white paper and write on it. Your handwriting carries more weight than any printed design ever could.
Frequently Asked Questions
What is the traditional gift for the first anniversary, and how can I use it in decoration?
The traditional first anniversary gift is paper. You incorporate it by using paper as the main material in your decorations — paper flowers, banners, origami, lanterns, or cutouts. It ties the gift tradition directly to the visual experience.
Can I decorate a rented apartment without damaging walls?
Yes. Use removable adhesive hooks, painter’s tape, or washi tape instead of regular tape. Avoid glue dots and heavy adhesives. Hang paper decorations from curtain rods, ceiling hooks, or furniture rather than directly on walls.
How much time do I need for a DIY decoration?
A simple setup like the love timeline banner takes about one hour. An elaborate paper flower wall can take two to three hours. Plan to start in the early afternoon so you have time to fix mistakes and clean up before your partner arrives.
What if my partner does not like surprises?
Tell them a simple version of the plan. Say you want to decorate the room together or that you are planning a small setup but want their input. You can still make it special without the surprise element.
Are there safety concerns with paper decorations and candles?
Yes. Do not place real candles near paper, fabric, or anything flammable. Use LED candles for all lighting near paper. If you want the look of real flames, place them in glass holders on a metal tray away from decorations.
How do I decorate if I only have a small bedroom?
Focus on one wall or one corner. Use vertical space with hanging decorations. Keep the floor clear. A mobile, a banner on one wall, and a small table display with message bottles can transform a small room without making it feel crowded.
For even more inspiration, explore these wedding event decoration ideas that can turn any venue into a magical space.
Can I reuse these decorations after the anniversary?
Many paper decorations can be stored and reused. Paper flowers last indefinitely if kept dry. Paper lanterns fold flat. The love timeline banner can be kept as a keepsake. Only the message bottles are single-use if you choose to open and read the notes.